A photographer with a DSLR enjoys control over a wide range of manual settings required to perform a long exposure photography. The camera’s shutter is left open for any indefinite amount of time and the results are spellbinding ! Whereas in case of a point and shoot, the camera’s shutter can’t be left open for that much amount of time hence it doesn't produce that impressive results! That’s the power of a DSLR. But what if you have a compact point and shoot camera and you are getting irresistible to capture those breathtaking shots with long exposure? This post clearly explains how to perform long exposure with a basic point and shoot/compact camera.
How to set the camera for long exposure?
To perform a long exposure with a point-and-shoot forget about operating the camera in auto mode. Since in the long exposure photography you have to control the shutter speed of the camera it’s an obvious reason to operate your point and shoot in manual mode.
In most advanced point and shoot cameras you must have came across the feature called ISO. ISO is the ultimate key to control shutter speeds of point and shoot cameras. Hence to do long exposure, set your ISO to the lowest possible value (i would recommend 80 to 100. Forget about using flash (especially when you are taking long exposures of fast moving lights under dark or at night). Finally set the camera’s white balance to auto mode and use a tripod to ensure that the camera does not shake and defocus the main subject (light) ;)
please note: Operating the point and shoot camera in night mode can also produce similar results for long exposure.
Some Examples of long exposure with a point and shoot camera
Here are some of the examples of long exposure photography taken by the point and shoot camera SONY cybershot DSC W320 with the above explained settings.
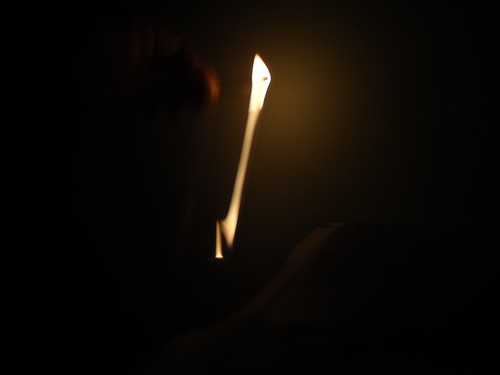
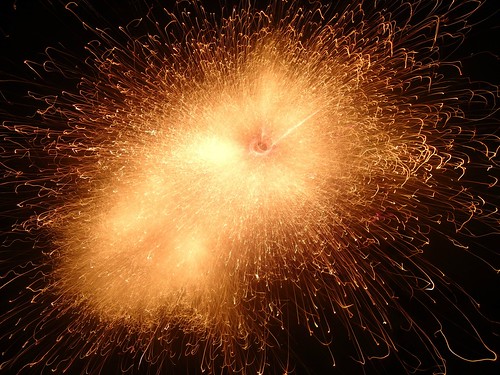
Example 1 : Burning match stick shaken rapidly to illustrate how to take long exposures with point and shoot camera.
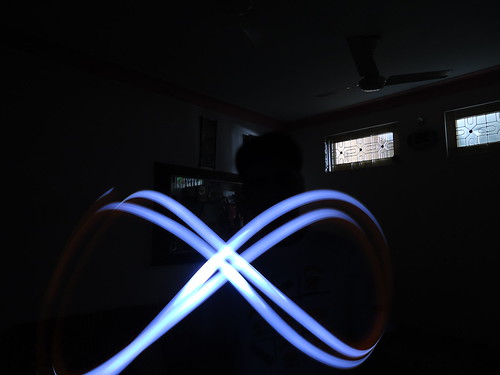
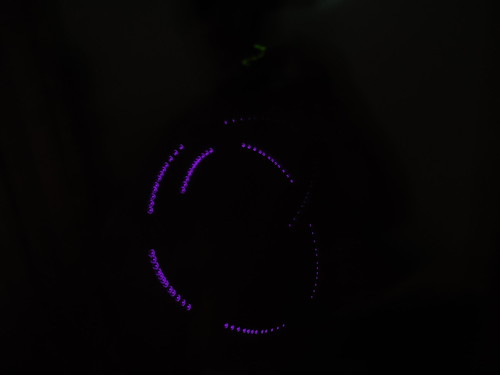
Example 2: Several interesting shapes, letters and alphabets can also be captured (using a laser or flash light/torch) by using these long exposure settings for a point and shoot camera.
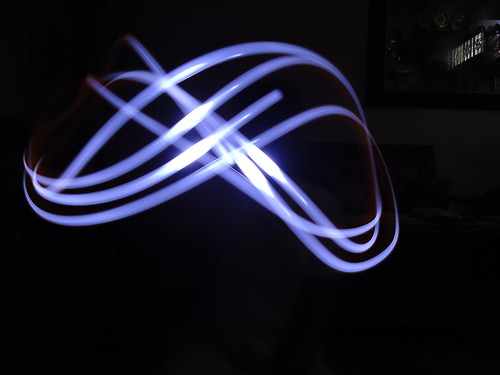
Example 3: In the following example I have used an ordinary television remote control to illustrate the concept of long exposure taken with point-and-shoots. It’s simple to perform. First of all make the room darker by turning off all the lights and then securely place your camera on a tripod (set the auto timer to 10 seconds). Now position the remote control (with any button being pressed) towards the camera lens at some distance. Now press the shoot button of the camera and with the remote control device make random shapes and patterns. The camera will capture these patterns and you will get similar results as I got with my compact digital camera.
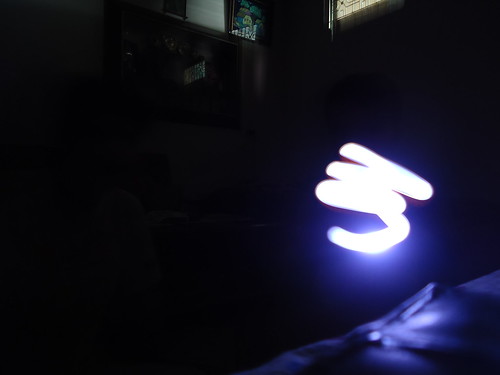
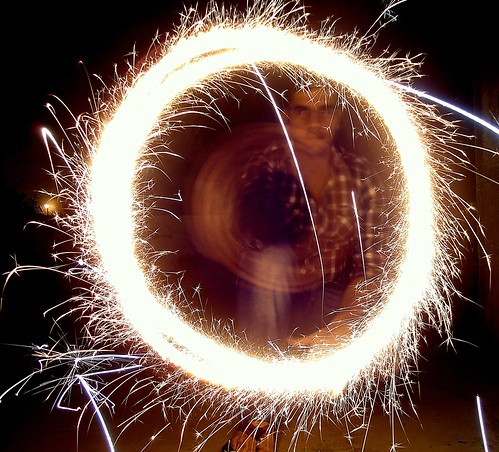
And here’s the classic example of long exposure photography that i did with some fire-crackers (using just a simple point-and-shoot camera) ;)
I believe that you must have enjoyed reading all these long exposure tips. Now try to do a long exposure with your own point-and-shoot camera and feel free to share the results with us. Best of luck !!


